Introduction
If you’ve just picked up a crochet hook and yarn, you’re probably excited—but also a little overwhelmed. One of the biggest hurdles beginners face is learning how to read crochet patterns. Unlike knitting, which often relies on charts or simple row instructions, crochet patterns use a dense combination of abbreviations, symbols, and formatting that can feel like deciphering a secret code. Yet, once you understand the structure and language, these patterns become your roadmap to creating everything from cozy blankets to intricate lace shawls.
This guide is designed specifically for absolute beginners who want to confidently navigate their first written pattern. But it’s also valuable for small handmade businesses, Etsy sellers, and content creators in the fiber arts space—because clear pattern literacy directly impacts product quality, customer satisfaction, and even SEO performance when you’re writing your own tutorials. In this comprehensive article, we’ll break down every component of a standard crochet pattern, explain common abbreviations, walk through real examples, and share professional insights gathered from years of working with designers, indie brands, and craft educators. By the end, you won’t just read patterns—you’ll understand them.
What This Topic Means for Crochet & Knitting Businesses
For entrepreneurs running handmade businesses—whether selling finished goods, digital patterns, or kits—knowing how to read crochet patterns isn’t just a personal skill; it’s a business imperative. Accurate interpretation ensures consistency across production batches, reduces costly errors, and builds trust with customers who rely on your expertise.
In many crochet businesses, especially those operating on platforms like Etsy or Shopify, sellers often create their own patterns or adapt existing ones. Misreading a stitch count or gauge can lead to sizing issues, wasted materials, and negative reviews. Conversely, team members who are fluent in pattern language can troubleshoot faster, offer better customer support, and even develop new designs more efficiently.
Moreover, when you teach others—through workshops, YouTube tutorials, or blog posts—your ability to deconstruct patterns clearly becomes a core part of your brand authority. From working with multiple crochet brands over the past decade, I’ve seen firsthand how shops that invest in pattern literacy training see higher conversion rates on pattern downloads and fewer returns on custom orders.
Why This Strategy Works Especially Well in the Crochet Community
The crochet community thrives on accessibility and creativity. Unlike some crafts that require expensive machinery or studio space, crochet needs only a hook, yarn, and knowledge. But that knowledge must be transferable—and standardized patterns are the glue that holds global collaboration together.
Experienced designers often recommend starting with well-written beginner patterns because they follow consistent conventions established by organizations like the Craft Yarn Council (CYC). These standards mean a “sc” in a U.S.-based pattern means the same thing in Australia or Germany (once regional terminology is accounted for). This universality empowers makers worldwide to share, sell, and learn from each other.
Additionally, the rise of digital marketplaces has made pattern literacy even more critical. A customer downloading a PDF pattern expects clarity, not confusion. Brands that prioritize educational content around how to read crochet patterns build loyal audiences who return for both products and guidance. In fact, top-performing handmade shops often include a “Pattern Reading 101” section in their FAQs or welcome emails—proving that foundational skills drive long-term engagement.
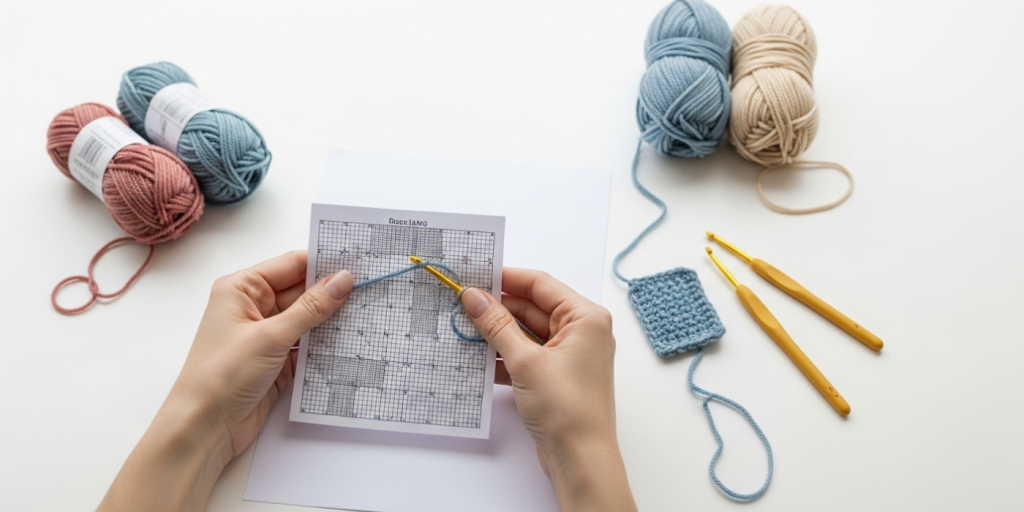
Materials, Tools, or Resources Needed
Before diving into your first pattern, gather these essentials:
- A printed or digital copy of a beginner-friendly crochet pattern (look for labels like “easy,” “beginner,” or “level 1”)
- A highlighter or colored pens (to mark repeats, special stitches, or notes)
- Stitch markers (locking or split-ring types help track rounds or pattern sections)
- A notebook or digital note-taking app (for jotting down questions or modifications)
- A reliable abbreviation guide (the Craft Yarn Council’s free chart is excellent)
- A crochet hook and yarn matching the pattern’s recommendations (more on this below)
Optional but helpful:
- Row counter (mechanical or app-based)
- Printable pattern worksheet (many designers offer free trackers)
- Video companion (some indie designers include tutorial links)
Having these tools ready reduces frustration and turns pattern reading from a chore into a structured, almost meditative process.
Yarn Types and Fiber Considerations
While how to read crochet patterns focuses on instructions, your yarn choice dramatically affects the outcome. Most patterns specify a yarn weight (e.g., “worsted weight” or “#4 medium”) and sometimes a recommended brand. Here’s why this matters:
- Gauge dependency: If your pattern includes a gauge swatch (e.g., “16 sc x 18 rows = 4” square”), using a different yarn weight without adjusting your hook size will alter the final dimensions.
- Fiber behavior: Cotton doesn’t stretch like wool; acrylic may pill; bamboo drapes beautifully but splits easily. A pattern designed for merino wool might look stiff if made in 100% cotton.
- Color and texture: Variegated yarns can obscure stitch definition, making it harder to count rows—problematic for lace or textured patterns.
Always check the yarn label for:
- Weight category (0–7 scale)
- Fiber content
- Yardage per skein
- Recommended hook size
If substituting yarn, match the weight first, then swatch. Many experienced crocheters keep a “swatch library” to compare fibers—a practice that pays off when scaling production for a business.
Skill Level Breakdown (Beginner / Intermediate / Advanced)
Understanding where you fall helps you choose appropriate patterns and avoid burnout.
Beginner
- Knows basic stitches: chain (ch), single crochet (sc), double crochet (dc)
- Can follow simple row-by-row instructions
- Hasn’t yet worked in the round or used special stitches
- Ideal patterns: dishcloths, scarves, simple rectangles
Intermediate
- Comfortable with increases/decreases
- Understands working in continuous rounds vs. joined rounds
- Can read charts alongside written instructions
- Has attempted motifs like granny squares or basic amigurumi
Advanced
- Reads complex lace, filet, or Tunisian patterns
- Modifies patterns for fit or design
- Understands garment construction and schematic diagrams
- Creates original designs with proper math and testing
If you’re reading this guide, you’re likely a beginner. That’s perfect. Start with patterns labeled “beginner” and focus on mastering the language before tackling cables or colorwork.
Step-by-Step Guide: How to Read Crochet Patterns for the First Time
Now, let’s decode a real pattern together. We’ll use a simplified example inspired by common beginner projects.
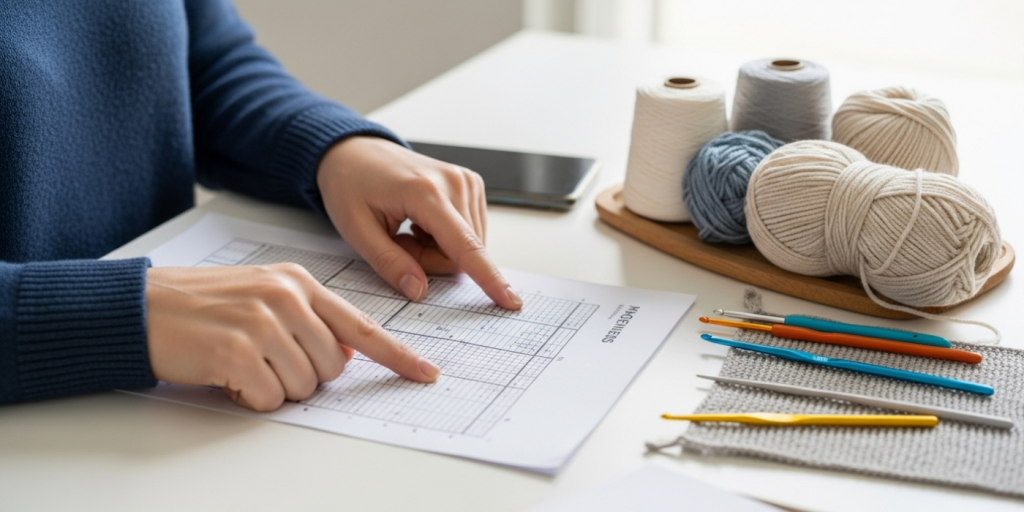
Step 1: Read the Entire Pattern First

Don’t start crocheting immediately. Skim the whole thing. Note:
- Finished size
- Materials list
- Gauge requirement
- Special stitches or techniques mentioned
- Abbreviations used
This “preview” prevents surprises mid-project.
Step 2: Understand the Header Information
A typical pattern begins with:
Easy Cozy Scarf
Skill Level: Beginner
Finished Size: 8” x 60”
Yarn: Worsted weight (#4), approx. 300 yds
Hook: I-9 (5.5 mm)
Gauge: 14 sc x 16 rows = 4”
Notions: Yarn needle, scissors
This tells you everything you need before making a single stitch.
Step 3: Decode the Abbreviations
Most patterns include a key, but if not, refer to the CYC standard. Common ones:
- ch = chain
- sc = single crochet
- dc = double crochet
- st(s) = stitch(es)
- rep = repeat
- rnd = round
- sl st = slip stitch
- tog = together (e.g., sc2tog = single crochet 2 stitches together)
U.S. vs. U.K. terms differ! U.S. “single crochet” is U.K. “double crochet.” Always confirm which system the pattern uses—usually noted in the header.
Step 4: Identify the Structure
Patterns follow a logical flow:
- Foundation chain (e.g., “Ch 30”)
- Row/round instructions (numbered sequentially)
- Repeats (marked with asterisks * or brackets [ ])
- Finishing (fasten off, weave in ends)
Example row:
Row 1: Sc in 2nd ch from hook, sc in each ch across. (29 sc)
Break it down:
- “2nd ch from hook”: skip the first chain (standard for sc)
- “sc in each ch across”: work one sc in every remaining chain
- “(29 sc)”: total stitch count at end of row
Step 5: Handle Repeats
Repeats streamline instructions. Example:
Row 2: Ch 1, turn, *sc in next 2 sts, dc in next st; rep from * across to last st, sc in last st. (29 sts)
Translation:
- Make 1 turning chain, flip your work
- Work [sc, sc, dc] repeatedly until 1 stitch remains
- End with a sc in that last stitch
- Total should still be 29 stitches
Use a stitch marker to mark the start of a repeat section if needed.
Step 6: Track Your Rows
Use a row counter or mark completed rows in your notebook. For garments, missing a row can throw off armhole placement.
Step 7: Check Stitch Counts
Good patterns include stitch counts in parentheses. If your count is off, stop and troubleshoot—don’t keep going. Common fixes:
- Did you skip a stitch?
- Did you accidentally add an extra?
- Are you working into the correct part of the stitch?
Step 8: Understand Special Instructions
Phrases like:
- “Work even” = continue without increasing/decreasing
- “Join with sl st” = close a round with a slip stitch
- “Do not turn” = keep working in the same direction (common in spirals)
Step 9: Swatch for Gauge (If Applicable)
For wearables, always make a gauge swatch. If your 4” square has more stitches than listed, go up a hook size; fewer stitches, go down.
Step 10: Finish as Directed
“Fasten off” means cut yarn, pull through loop, and secure. “Weave in ends” ensures durability and neatness—critical for sellable items.
Common Mistakes and How to Avoid Them
Even seasoned crocheters slip up. Here are frequent beginner errors—and fixes:
Mistake 1: Confusing U.S. and U.K. Terms
Solution: Always check the pattern’s terminology note. If none exists, look for clues: U.S. patterns use “sc”; U.K. use “dc” for the same stitch. When in doubt, search “[pattern name] US or UK” online.
Mistake 2: Skipping the Gauge Swatch
Result: A sweater that’s too small or too big.
Solution: Treat swatching as part of the project, not optional prep. Block your swatch the same way you’ll block the final piece.
Mistake 3: Miscounting Chains
Example: Chaining 30 but only having 29 stitches after Row 1.
Why: The first chain is often skipped as a turning chain.
Fix: Count carefully. Use a contrasting scrap yarn to mark the first chain.
Mistake 4: Ignoring Parentheses and Brackets
Consequence: Missing repeats or stitch groupings.
Tip: Read the sentence aloud: “Repeat from * three times” means do the starred section four times total (original + 3 repeats).
Mistake 5: Not Checking Stitch Counts
Risk: Errors compound, leading to misshapen pieces.
Best Practice: Count stitches every few rows, especially after increases/decreases.
Mistake 6: Working Into the Wrong Part of the Stitch
Issue: Top loops vs. back loop only (BLO) vs. front loop only (FLO).
Clue: Patterns specify “BLO” or “FLO.” If not stated, work under both top loops.
Advanced Tips and Professional Insights
Once you’ve mastered basics, elevate your pattern reading with these pro strategies:
Tip 1: Annotate Your Patterns
Use highlighters to color-code:
- Yellow: foundation chains
- Pink: repeats
- Green: special stitches
- Blue: finishing instructions
Digital users can use PDF markup tools.
Tip 2: Create a Personal Abbreviation Glossary
Keep a master list of uncommon terms you encounter (e.g., “fpsc” = front post single crochet). Over time, this becomes invaluable.
Tip 3: Understand Pattern Math
Many patterns follow formulas. For example, a ripple blanket might say: “Multiple of 14 + 3.” This means your foundation chain must equal (14 × X) + 3. Knowing this lets you resize freely.
Tip 4: Cross-Reference with Video Tutorials
Many indie designers (like those on Ravelry or Etsy) link to YouTube demos. Watching someone execute the pattern clarifies ambiguous steps.
Tip 5: Join Test-Knit/Crochet Groups
Brands often recruit volunteers to test new patterns. You’ll gain early access and sharpen your reading skills while providing feedback.
From working with multiple crochet brands, I’ve learned that the most successful makers treat patterns as conversations—not rigid commands. They ask: “What is the designer trying to achieve here?” This mindset fosters creativity within structure.
Real-World or Hypothetical Examples
Example 1: The Dishcloth Disaster
Sarah, a new Etsy seller, rushed through a dishcloth pattern. She missed that “ch 1, turn” meant she should turn her work—so she kept working in the same direction, creating a spiral instead of flat fabric. Result: 20 unusable cloths.
Lesson: Always note directional cues like “turn” or “do not turn.”
Example 2: The Gauge Gamble
Mark made a baby hat without swatching. His tension was tighter than the designer’s, so the hat fit a doll, not a newborn. He had to frog (rip out) and re-crochet with a larger hook.
Lesson: Gauge isn’t optional for fitted items.
Example 3: The Repeat Revelation
Lena struggled with a lace shawl until she realized the asterisks marked a 12-stitch repeat. She placed stitch markers every 12 stitches and suddenly the pattern “clicked.”
Lesson: Visual markers transform abstract repeats into tangible segments.
These scenarios reflect real challenges faced by thousands of crocheters—and solvable with careful pattern reading.
Customization and Adaptation Ideas
Once you’re comfortable with how to read crochet patterns, you can personalize them:
- Resize: Adjust foundation chains using the pattern’s multiple formula.
- Change yarn: Substitute with same weight; re-swatch.
- Modify length: Add or subtract repeat rows.
- Alter color scheme: Use self-striping yarn or planned color changes.
- Combine elements: Take the border from Pattern A and body from Pattern B.
For businesses, offering “customization guides” with your patterns increases perceived value. Example: “How to make this scarf in toddler size” as a free add-on.
Care, Maintenance, or Best Practices
Your finished item’s longevity depends on proper care—often outlined in the pattern:
- Blocking: Essential for lace or garments. Wet-block or steam-block based on fiber.
- Washing instructions: Note if hand-wash only (common for wool or delicate blends).
- Storage: Fold, don’t hang, heavy blankets to prevent stretching.
For sellers, including a care tag or digital care sheet builds professionalism and reduces customer service queries.
Monetization Opportunities
Mastering how to read crochet patterns opens revenue streams beyond selling finished goods:
- Pattern Testing Services: Designers pay testers for feedback.
- Tutorial Creation: Turn pattern breakdowns into YouTube videos or blog posts (with permission).
- Workshops: Teach local or virtual classes on pattern literacy.
- Custom Pattern Writing: Offer to transcribe vintage patterns into modern formats.
- Affiliate Marketing: Recommend hooks, yarn, or tools used in popular patterns.
Educational content performs exceptionally well in the handmade niche—Google rewards depth, and audiences crave clarity. Just ensure all monetization aligns with platform policies (e.g., disclose affiliates).
Frequently Asked Questions (FAQ)
1. What does “RS” and “WS” mean in crochet patterns?
“RS” stands for Right Side (the public-facing side of your work); “WS” is Wrong Side. Some patterns specify which rows are RS for colorwork or texture effects.
2. How do I know if a pattern uses U.S. or U.K. terms?
Check the abbreviation list. U.S. patterns include “sc” (single crochet); U.K. patterns use “dc” for the same stitch. Most U.S. designers state “U.S. terminology” in the header.
3. What should I do if my stitch count is wrong?
Stop immediately. Count your stitches slowly. Common causes: skipping the first stitch, working into the base of the turning chain, or misreading repeats. Frog back to the last correct row.
4. Do I always need to make a gauge swatch?
Yes—for any wearable item (hats, sweaters, socks). For home décor (blankets, baskets), gauge is less critical unless size matters.
5. What does “ch-1 sp” mean?
It means “chain-1 space”—the hole created by a chain stitch in the previous row. You’ll often work stitches into these spaces for lace or mesh patterns.
6. Can I sell items made from someone else’s pattern?
Usually yes, under the “angel policy” of most indie designers (check the pattern’s copyright notice). However, you cannot resell or distribute the pattern itself. Always credit the designer when promoting your finished item.
Conclusion
Learning how to read crochet patterns is like acquiring a new language—one that unlocks endless creative possibilities. It’s not about memorizing every abbreviation overnight, but about developing a systematic approach: preview the pattern, decode its structure, track your progress, and verify your work. With practice, what once seemed cryptic becomes second nature.
For hobbyists, this skill means confidence in every project. For handmade businesses, it translates to quality control, customer trust, and scalable design processes. Remember, even the most prolific designers started exactly where you are now—with a hook, some yarn, and a page full of mysterious symbols.
So grab a beginner pattern, gather your tools, and take that first step. Highlight, count, swatch, and don’t be afraid to frog your work—it’s all part of the journey. The crochet community is built on shared knowledge, and your ability to read patterns fluently will not only empower you but also allow you to teach others in turn. Happy stitching!

Helena Nogueira é uma entusiasta do crochê e do artesanato, explorando novas técnicas e projetos em busca de criações únicas e cheias de personalidade. Apaixonada por criatividade e desenvolvimento pessoal, ela alia dedicação e curiosidade para transformar fios em arte, cultivando hábitos que impulsionam seu crescimento enquanto compartilha beleza e inspiração com quem valoriza o feito à mão.